

Motorcycle Speedometer Scratch Cluster Protection Screen Film Protector For HONDA PCX125 PCX150 PCX160 PCX 125 PCX 150 PCX 160
Return&refund policy
Eligible items are covered by return and refund support. If the item does not arrive or is not as described, the buyer can request help.
Security & Privacy
Safe payments: We do not share your personal details with any third parties without your consent.
Secure personal details: We protect your privacy and keep your personal details safe and secure.
AI offer for your market
A curated pick based on category, shipping route, delivery speed and popularity in your selected market.
Why this product fits your market
- • Estimated delivery: 7.
- • Strong customer signal: 4.5★ from 12 reviews.
- • Recommendations focus on this product category and your market availability.

Product specifications
Detailed product description
This product is shown with available options, market-specific pricing and verified specifications.
- Brand: NONE
- Sales: 48
- Package size: 1 × 1 × 1 cm
- Package weight: 0.15 kg
- Rating: 4.5 / 5
Before adding to cart, choose an available option and check the quantity.
Motorcycle Speedometer Scratch Cluster Protection Screen Film Protector For HONDA PCX125 PCX150 PCX160 PCX 125 PCX 150 PCX 160
Description
Color: Clear
Material: Thermoplastic Polyurethane (TPU)
Fitment
For HONDA PCX125 PCX150 PCX160 PCX 125 PCX 150 160 All Years
Features
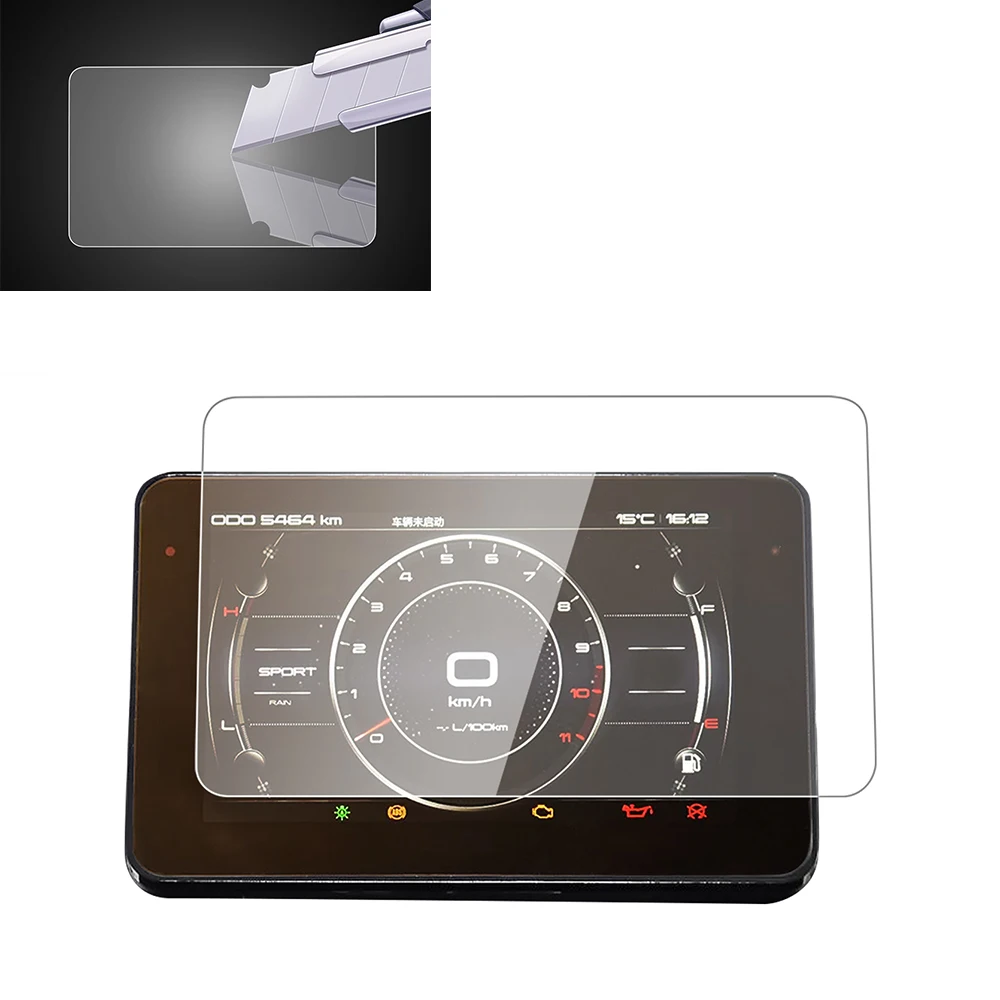
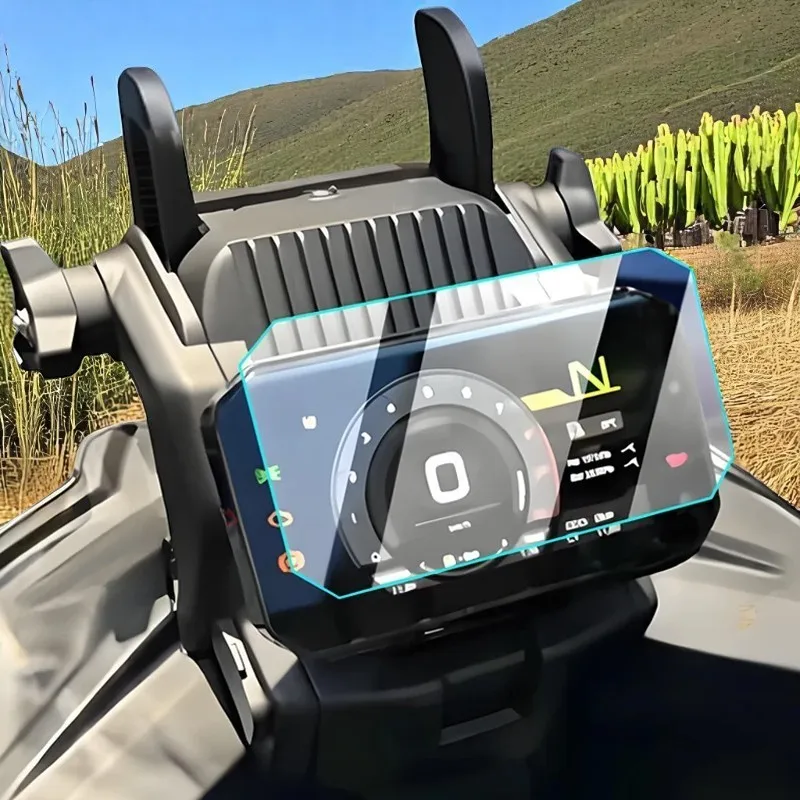
Precise cut for perfect fit
Made from Crystal Clear Premium TPU Movie
Protects the screen from cluster scratches, heat, dust, debris and UV
Seals the scratches underneath and makes the screen cluster like new again
Easy to clean and clean dirt without fear of scratching the cluster screen
Leave no residue when removed
Comes with Squeegee Cleaning Kit
Package Including
2 Pieces Speedometer Guard
1 Set Installation Package
Installation Way
1: Wipe the cluster screen with microfiber cloth to remove dirt and dus
2: Remove the liner with Step1 label. (make sure the movie does not appear with the clear liner)
3: With the liner completely removed, generous amount of water spray on the adhesive side. Light the screensaver with the button or border then gently place it in the cluster.
4: Gently squeeze the water and air bubbles out with the squeeze. Try to remove as much water and air bubbles as you can.
5: Remove the liner with Step2 label. (Make sure the film remains perfectly aliged and does not appear with the top of the liner.
6: Use squeeze to remove remaining pockets of air and water to complete the process. Due to handicraft personal problems, maybe a little more blisters is a normal phenomenon.